Table of Contents
Email Setup Guide: iPhone Mail (Secure IMAP)
Setting Up New Email Account
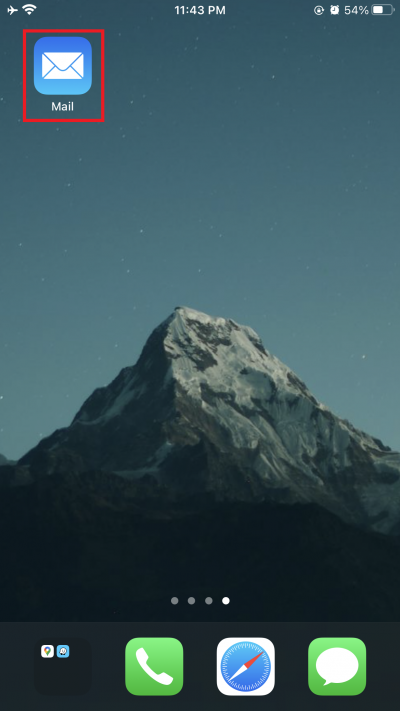
1. Launch Mail app, or click on Settings → Passwords & Accounts → Add Account.
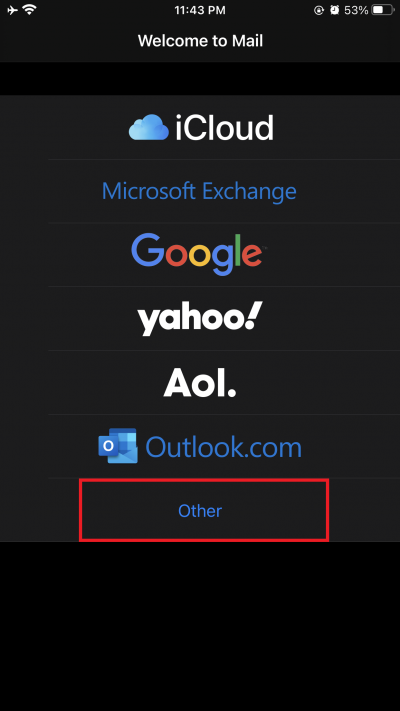
2. Select Other.
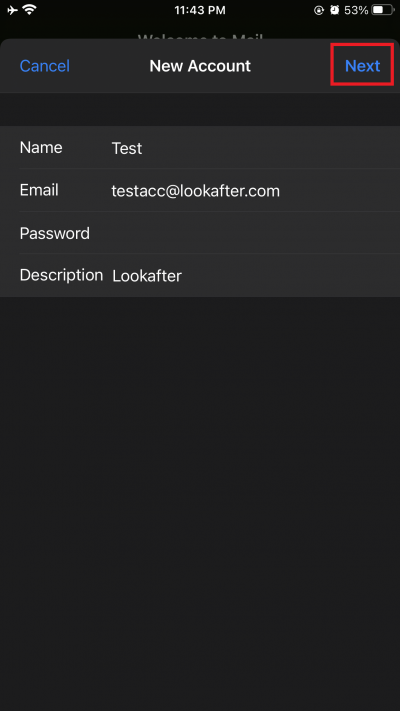
3. Next, enter your name, email address, password and description into the given fields, and click [Next].
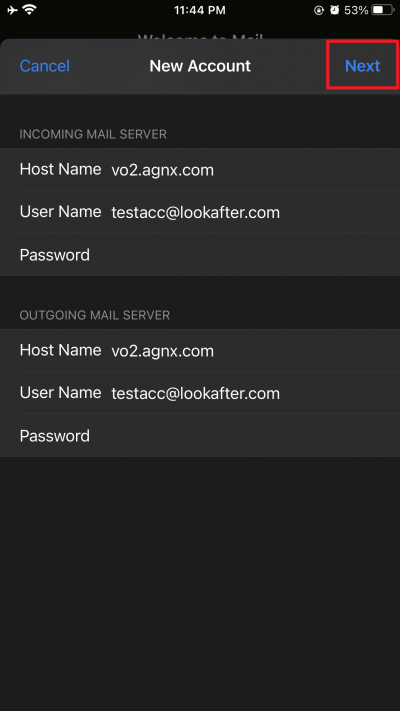
4. On the “Incoming Mail Server” section, enter:
- Host Name: vo1.agnx.com / vo2.agnx.com / v1.agnx.com / g1.agnx.com (*IMPORTANT: Please consult AfterOffice Support to confirm which host name to be used for your domain.)
- Username: (your full email address, e.g. name@yourdomain.com)
- Password: (your password)
5. On the “Outgoing Mail Server” section, key in:
- Host Name: vo1.agnx.com / vo2.agnx.com / v1.agnx.com / g1.agnx.com (*IMPORTANT: Please consult AfterOffice Support to confirm which host name to be used for your domain.)
- Username: (your full email address, e.g. name@yourdomain.com)
- Password: (your password)
Please contact support@afteroffice.com to verify your mail server
6. Then, click [Next].
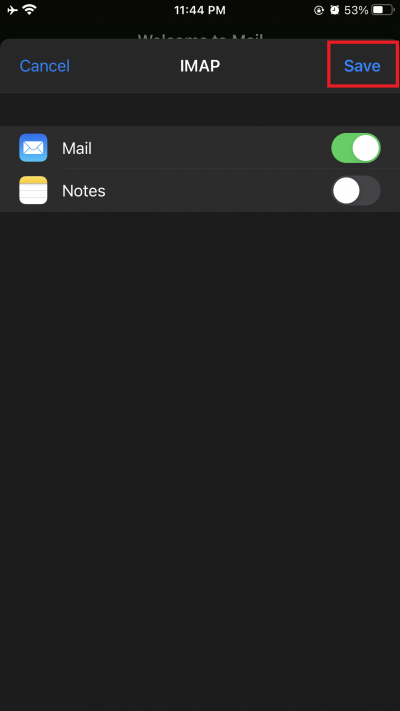
7. Click [Save] to complete the setup.
Verifying Setup
If you would like to verify the settings of your mail account on iPhone, follow the steps below:
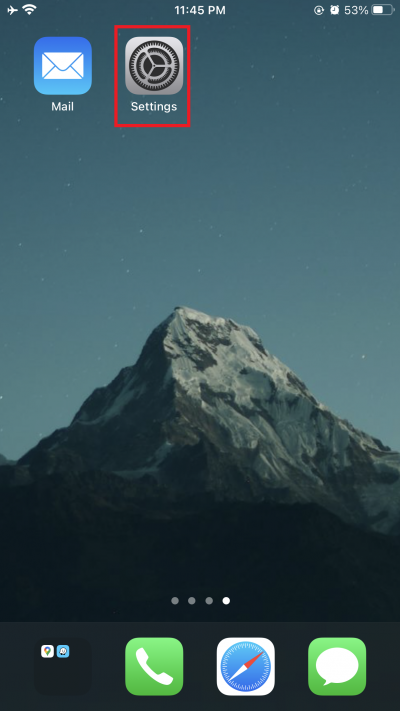
1. Click on the Settings icon on your iPhone.
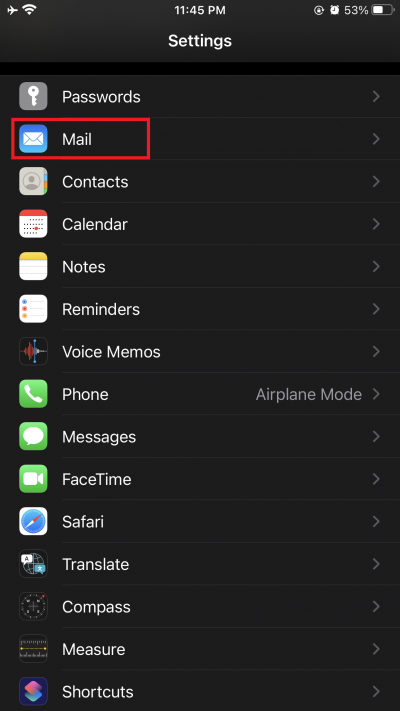
2. Locate the Mail application.
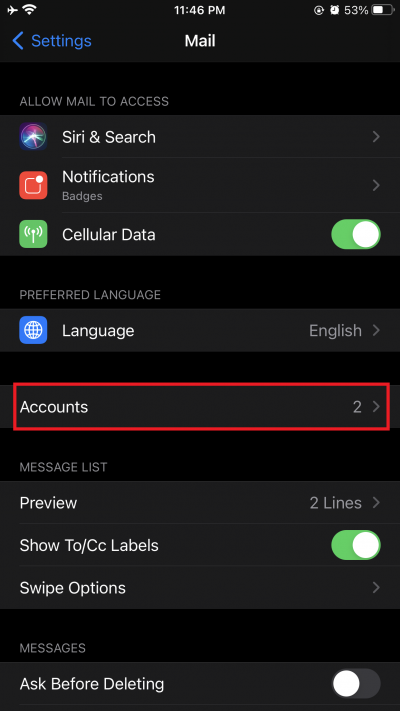
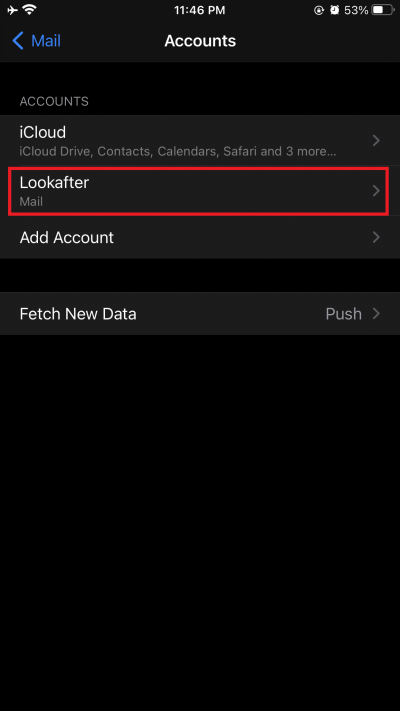
3. Then, select Accounts.
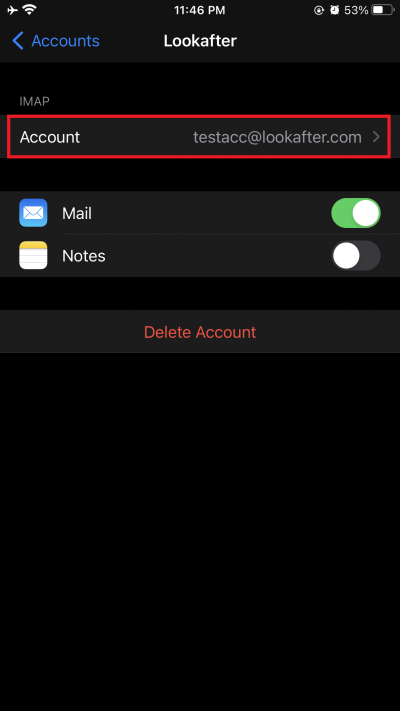
4. Next, click on your email address.
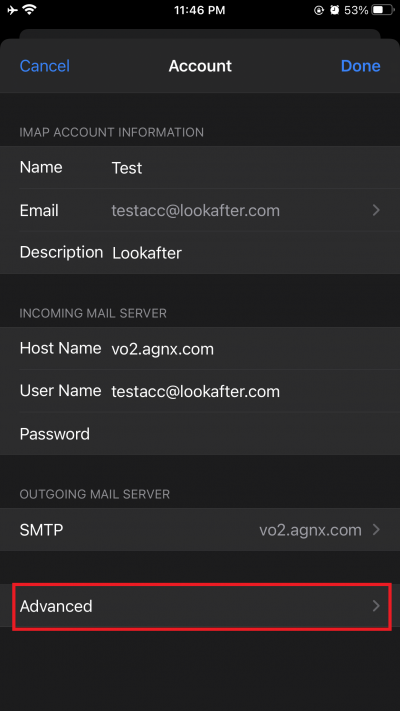
5. For incoming mail server, make sure that:
| Host Name | vo1.agnx.com / vo2.agnx.com / v1.agnx.com / g1.agnx.com *IMPORTANT: Please consult AfterOffice Support to confirm which host name to be used for your domain. |
| Username | (your full email address, e.g. name@yourdomain.com) |
| Password | (your password) |
6. Select Advanced and you will see your incoming mail settings.
| Use SSL | YES |
| Authentication | Password |
| Server Port | 993 |
Then, back to Account.
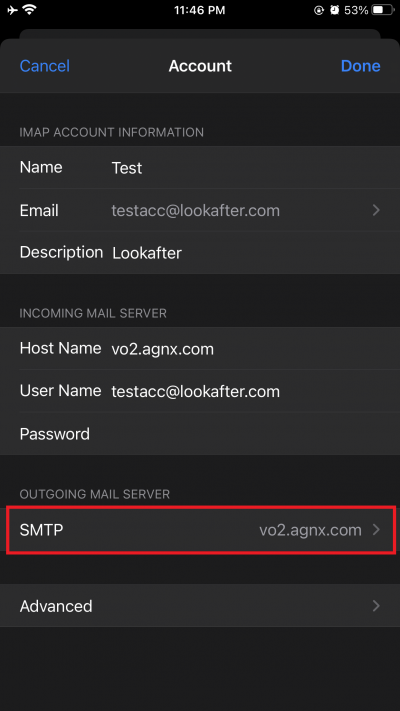
7. Select SMTP to verify outgoing mail server details.
8. You will find the outgoing mail settings here. Check and verify the following:
| Host Name | vo1.agnx.com / vo2.agnx.com / v1.agnx.com / g1.agnx.com *IMPORTANT: Please consult AfterOffice Support to confirm which host name to be used for your domain. |
| Username | (your full email address, e.g. name@yourdomain.com) |
| Password | (your password) |
| Use SSL | YES |
| Authentication | Password |
| Server Port | 587 |
Next, click on Done.
10. Lastly, click on Done to finish the verification process.
