Email Setup Guide for Microsoft Outlook 2010 (POP3)
To setup Microsoft Outlook 2010 as your email client, please follow the steps below.
Example:
Email address: david@company.com
Full Name: David Tan
1. Open Microsoft Outlook 2010.
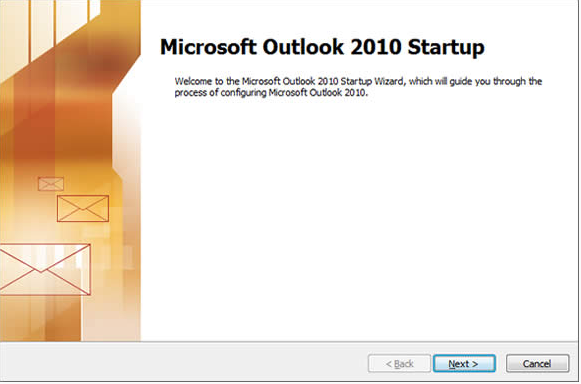
2. The following startup wizard is displayed if you are running MS Outlook 2010 for the first time.
Choose “Next” on the welcome page.
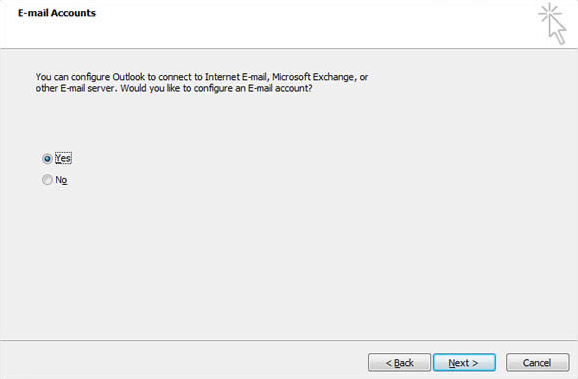
Select “Yes” to configure an email account. Click “Next”.
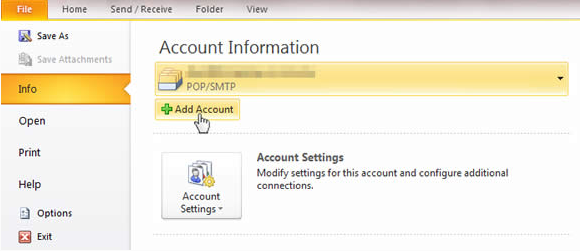
Note: If you are not running MS Outlook 2010 for the first time, go to “File” “Info” and choose “Add Account”.
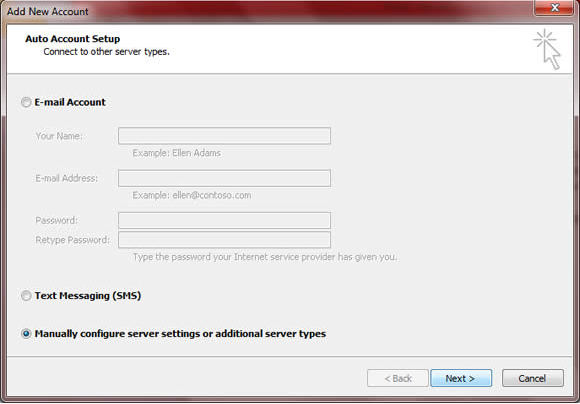
3. Select “Manually configure server settings or additional server types” and then click “Next”.
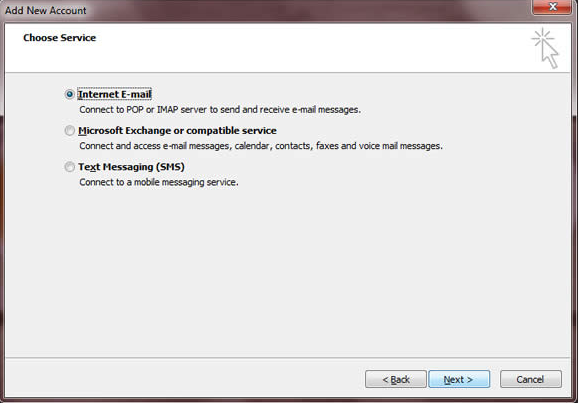
4. Choose the option “Internet E-mail”. Click “Next” to proceed.
5. Fill in the required information. E.g.:
i. User Information
-Your Name: David Tan


-E-mail Address: david@company.com
ii. Server Information
-Account Type: POP3


-Incoming mail server: mail.company.com


-Outgoing mail server (SMTP): mail.company.com
iii. Logon Information
-User Name: david@company.com


-Password: [password]
Note: The username must be your FULL email address.
iv.Test Account Settings:
-Enable the “Test Account Settings by clicking the Next button” if you want to test your configuration after completing the setup.
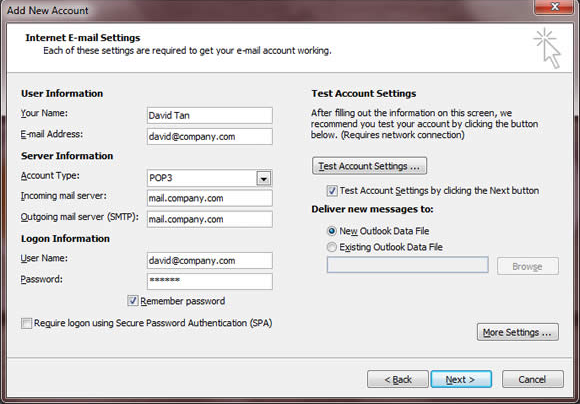
6. Click “More Settings…” to further configure your email account.
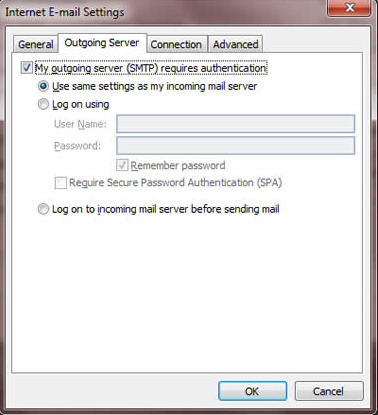
7. On “Outgoing Server” tab, tick the option “My outgoing server (SMTP) requires authentication” and select “Use same settings as my incoming mail server”.
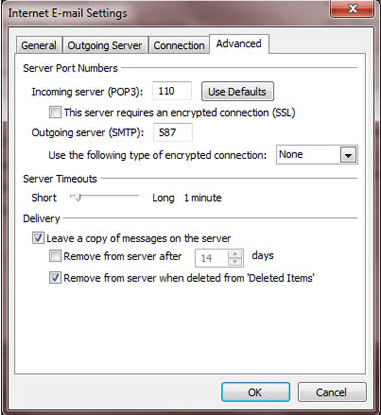
8. Go to “Advanced” section. Ensure that:
i. Server Port Numbers
-Incoming server (POP3): 110


-This server requires an encrypted connection (SSL): [Leave blank]


-Outgoing server (SMTP): 587


-Use the following type of encrypted connection: None
ii. Delivery
-Select “Leave a copy of messages on the server” if you want to access your emails through your webmail or other email client other than your Ms Outlook 2010.
9. Click “OK” once finish setting up.
10. Back to the email settings page, click “Next” to continue.

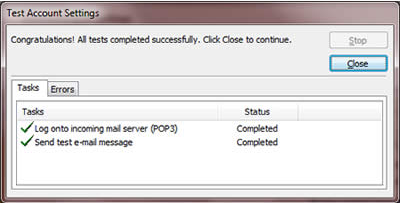
11. The “Test Account Settings” will run to test the feasibility of the send/receive operation via your configured account. If the tests complete without error, click “Close”.
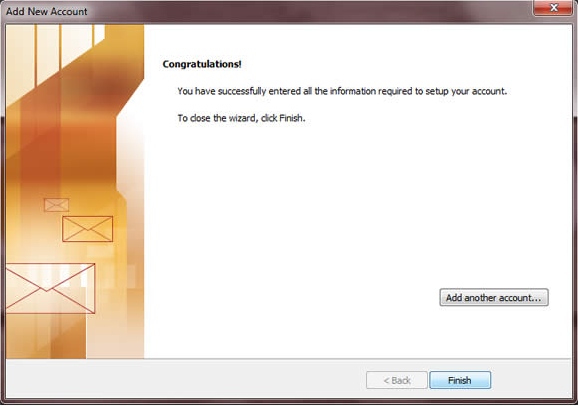
12. Click “Finish” to end the setup.
