Setup POP3 Account with Netscape 4.x
Start Netscape, select “Preferences…” from the Edit menu.

From the left panel, select “Mail Servers”.
- Type in your ISP (dialup account) given SMTP server at “Outgoing mail (SMTP) server:”
- Click “Add…” to proceed with POP3 server.
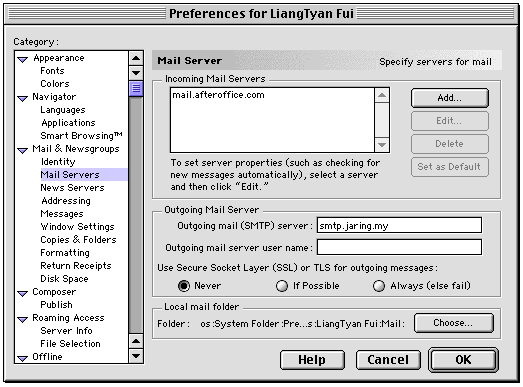
Server Name: provided by Afteroffice. This is the POP3 server name. If you are not sure what server name to use, it is usually your domain.
User Name: your private account with VO. Remember to add a prefix to it. The prefix is provided by Afteroffice - or you may find out your full User Name here by login with VO, and look at the bottom of the page for POP3-ID.
Close this dialog by clicking “Done”.

Dismiss the preferences window by clicking on “OK”.

From “Communicator” menu, select “Messenger”.
Click the “Get Msg” button to start downloading messages from VO.

Afteroffice Support <support@afteroffice.com>
24 Jan. 2001
